Like many social media platforms, Instagram started as a website and was later made into an app for iOS and Android devices. However, no app is flawless, and Instagram is no exception. In this article, we are going to discuss a very serious issue that almost renders Instagram useless. It is essentially a platform to share photos, and you wouldn’t be able to do that if the app isn’t able to access the device’s camera. A lot of Android users complained that they were not able to open the camera while using the app. This is a cause of major concern as it defeats the basic purpose of using Instagram. Therefore, we will help you fix this problem by providing you with a list of solutions that you can try.
Fix Unable to Access Camera in Instagram on Android
Method 1: Check App Permissions
Any app that needs to use some hardware components like the camera or GPS requires permission from you to do so. You might have noticed that when you open an app for the first time, it asks you for a bunch of permissions like permission to access your contacts, make phone calls, location access, camera access, etc. Similarly, Instagram also needs permission to access your device’s camera. It is possible that the reason behind Instagram not being able to open the camera is because it does not have the necessary permission to do so. You might have denied the permission request or disabled it by mistake. There is a simple fix to that, follow the steps given below to grant Instagram the permission to access your camera.
Fix Unable to Access Camera in Instagram on Android Method 1: Check App Permissions Method 2: Clear Cache and Data for Instagram Method 3: Update the App Method 4: Uninstall and then Re-install Method 5: Update the Android Operating System Method 6: Make Sure that you are Using the Native Camera App Method 7: Perform Factory Reset
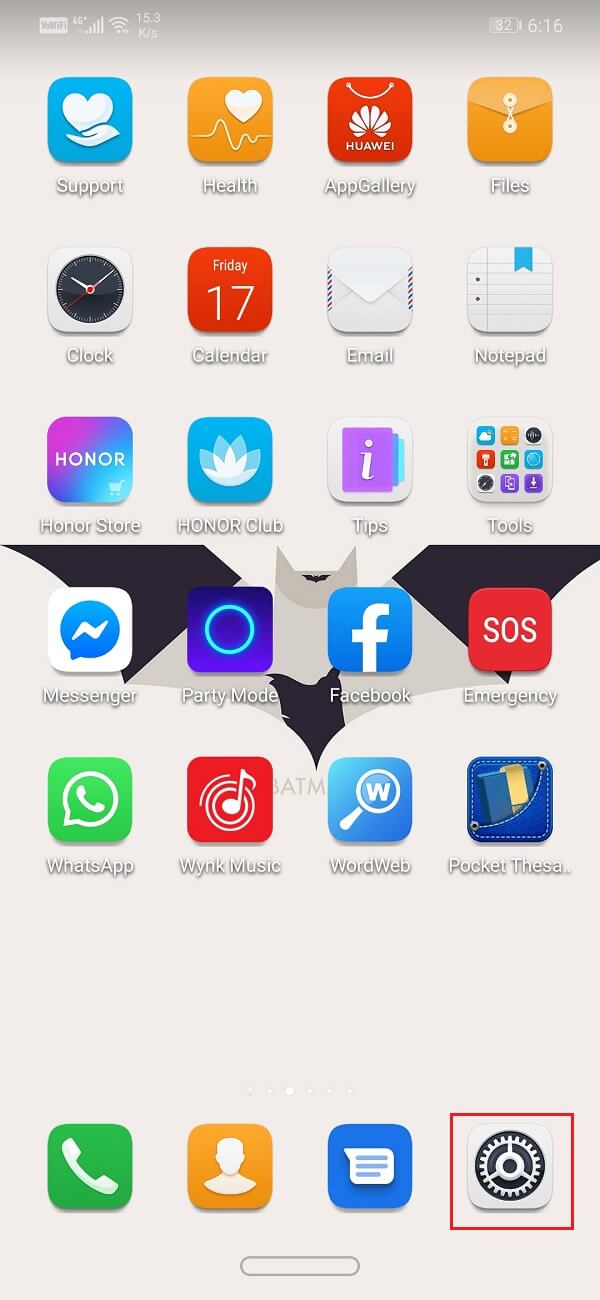
Open the Settings of your phone then tap on the Apps option.
Now, select Instagram from the list of apps.
After that, click on the Permissions option.
Make sure that the toggle switch next to the camera is turned on.
Method 2: Clear Cache and Data for Instagram
Every app stores some data in the form of cache files. These files are used to save different kinds of information and data. Apps generate cache files to reduce their loading/startup time. Some basic data is saved so that when opened, the app can display something quickly. However, sometimes these residual cache files get corrupted and cause apps to malfunction. When you are experiencing a problem with Instagram, you can always try clearing the cache and data for the app. Follow these steps to remove the cache and data files for Instagram.
Go to the Settings of your phone then tap on the Apps option.
Now, select the Instagram app from the list of apps.
Now, click on the Storage option.
You will now see the options to clear data and clear cache. Tap on the respective buttons, and the said files will be deleted.
Now, exit settings and try using the Instagram app again and see if you’re able to fix unable to access the camera in Instagram on Android issue. Also Read: Fix Instagram Couldn’t refresh feed Error on Android
Method 3: Update the App
The next thing that you can do is to update your app. Irrespective of whatever problem you are facing, updating it from the Play Store can solve it. A simple app update often solves the problem as the update might come with bug fixes to resolve the issue.
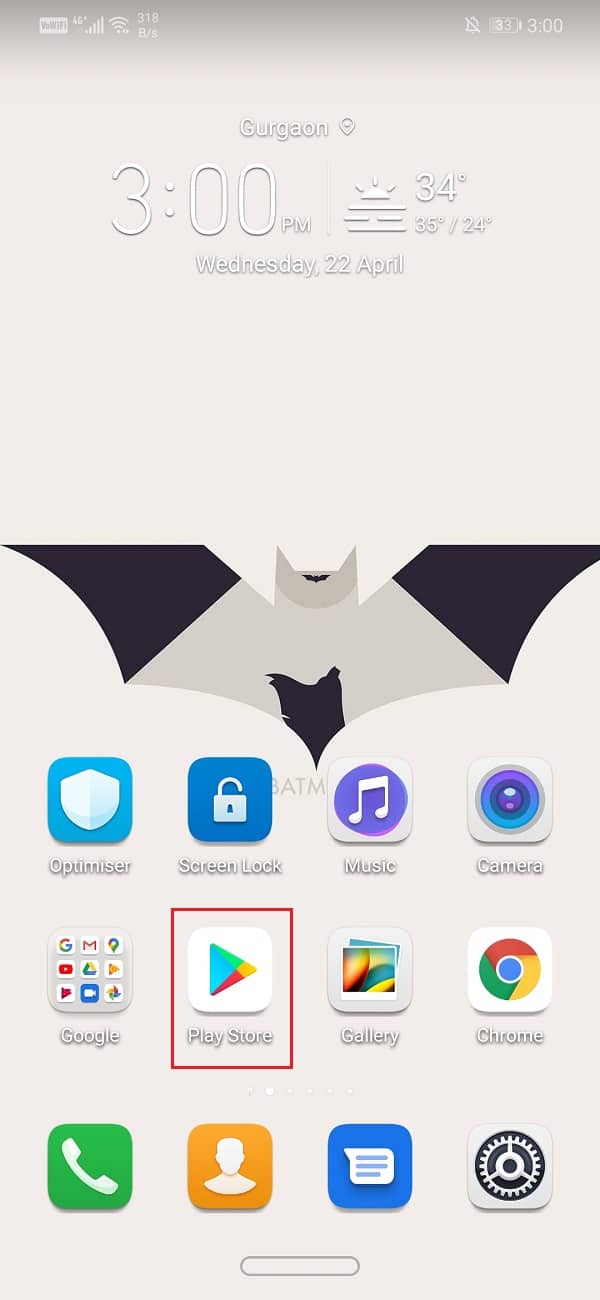
Go to the Play Store.
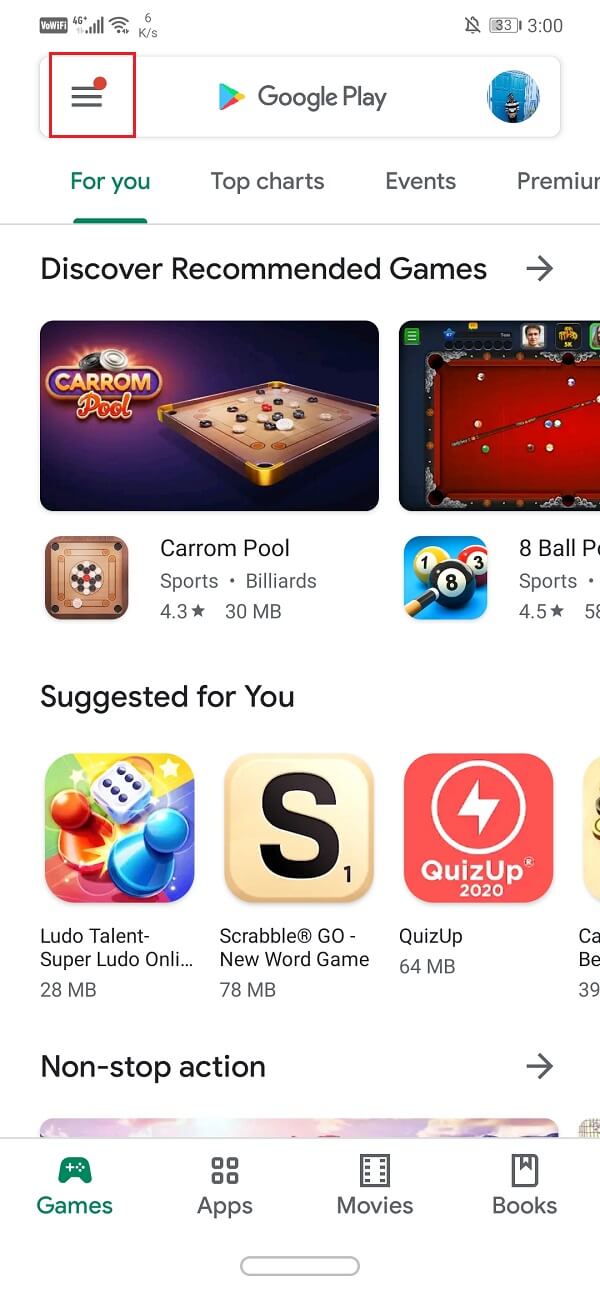
On the top left-hand side, you will find three horizontal lines. Click on them.
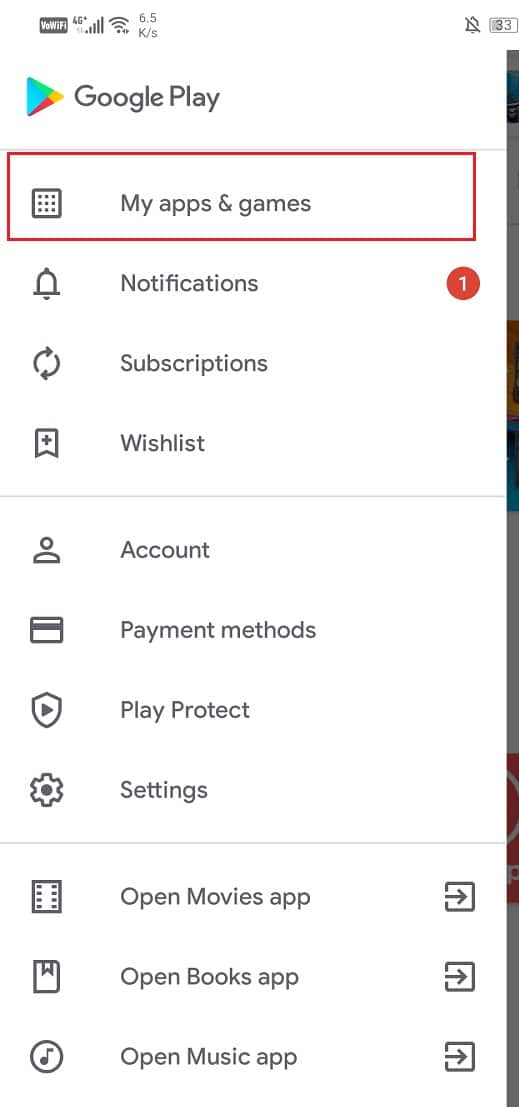
Now, click on the “My Apps and Games” option.
Search for Instagram and check if there are any pending updates. If yes, then click on the update button.
Once the app gets updated, try using it again and check if it works properly or not.
Method 4: Uninstall and then Re-install
If updating the app didn’t work or there wasn’t any update available in the first place, then you need to uninstall the app, and they install it again from the Play Store. Follow the steps given below to see how:
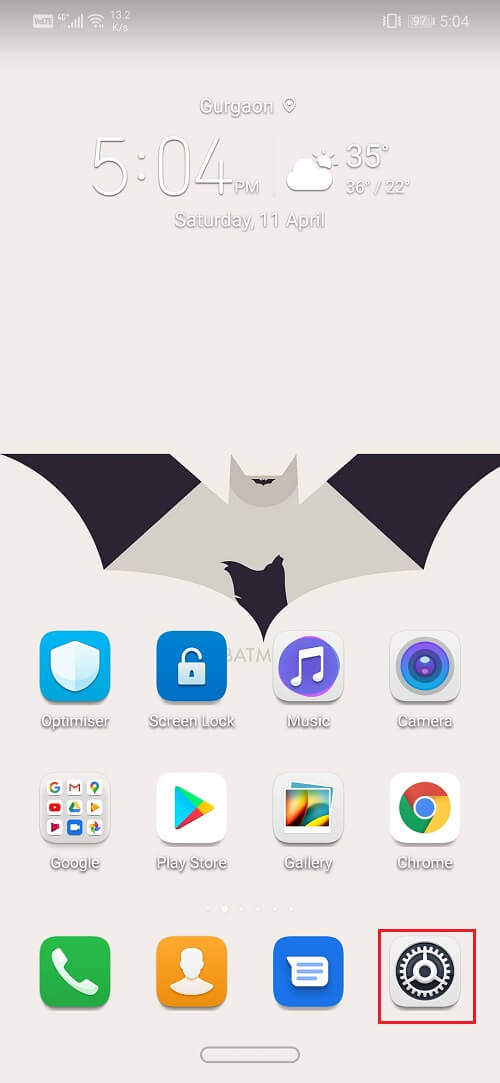
Open the Settings on your phone.
Now, go to the Apps section.
Search for Instagram and tap on it.
Now, click on the Uninstall button.
Once the app has been removed, download and install the app again from the Play Store.
Method 5: Update the Android Operating System
It is possible that the fault isn’t with the Instagram app but the Android operating system itself. Sometimes when an operating system update is pending, the previous version might get a little buggy. The pending update could be a reason behind your camera not working properly and denying access to Instagram. It is always a good practice to keep your software up to date. This is because, with every new update, the company releases various patches and bug fixes that exist to prevent problems like this from happening. Therefore, we would strongly recommend you to update your operating system to the latest version.
Go to the Settings of your phone.
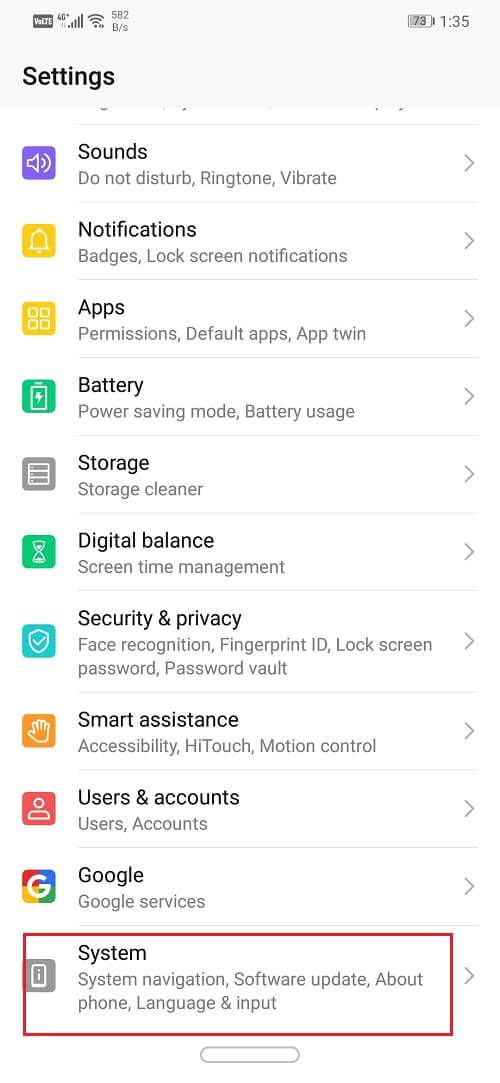
Tap on the System option.
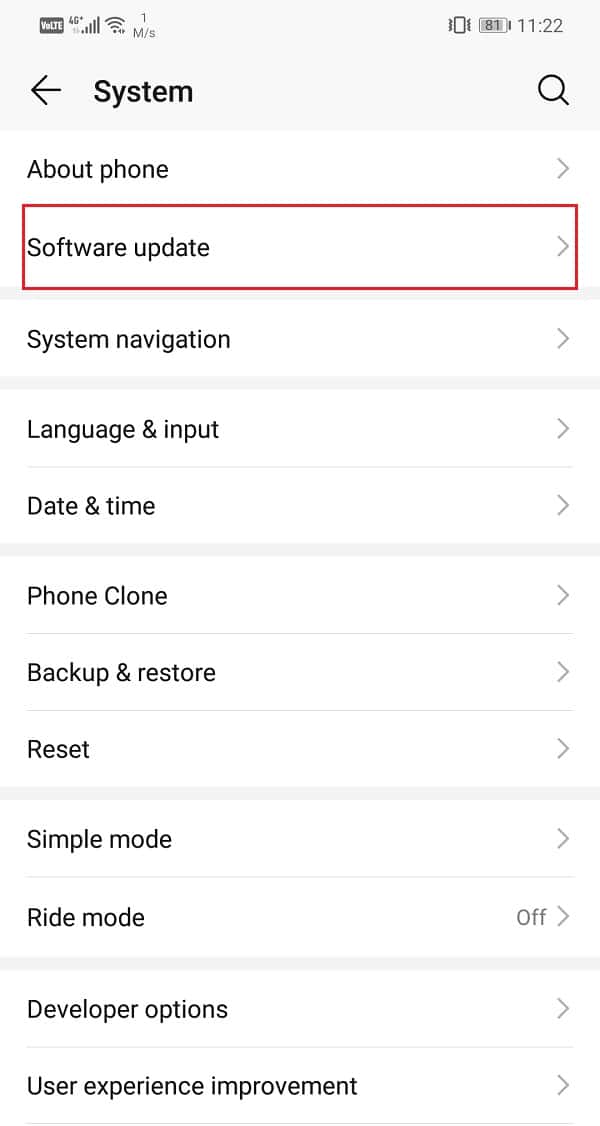
Now, click on the Software update.
You will find an option to Check for Software Updates. Click on it.
Now, if you find that a software update is available, then tap on the update option.
Wait for some time while the update gets downloaded and installed.
After that, open Instagram and see if it was working properly or not. Also Read: What Can I Do If I Forgot My Instagram Password?
Method 6: Make Sure that you are Using the Native Camera App
You might be using a third-party camera app as your default camera. The problem with such apps is that they don’t work well with other apps like Instagram or WhatsApp. To avoid complications, it is better to use the native camera app. Follow the steps given below to make sure that the default camera app is indeed your native camera.
Open Settings on your device.
Now tap on the Apps option.
Here, select the default apps option.
Now, click on the Camera tab.
Make sure that the native camera is selected as your default camera app.
After that, open Instagram again and see if you’re able to fix unable to access the camera in Instagram on Android.
Method 7: Perform Factory Reset
This is the last resort that you can try if all of the above methods fail. If nothing else works, you can try to reset your phone to the factory settings and see if it resolves the problem. Opting for a factory reset would delete all your apps, their data, and also other data like photos, videos, and music from your phone. Due to this reason, it is advisable that you create a backup before going for a factory reset. Most phones prompt you to backup your data when you try to factory reset your phone. You can use the in-built tool for backing up or do it manually, the choice is yours.
- Go to the Settings of your phone then tap on the System tab.
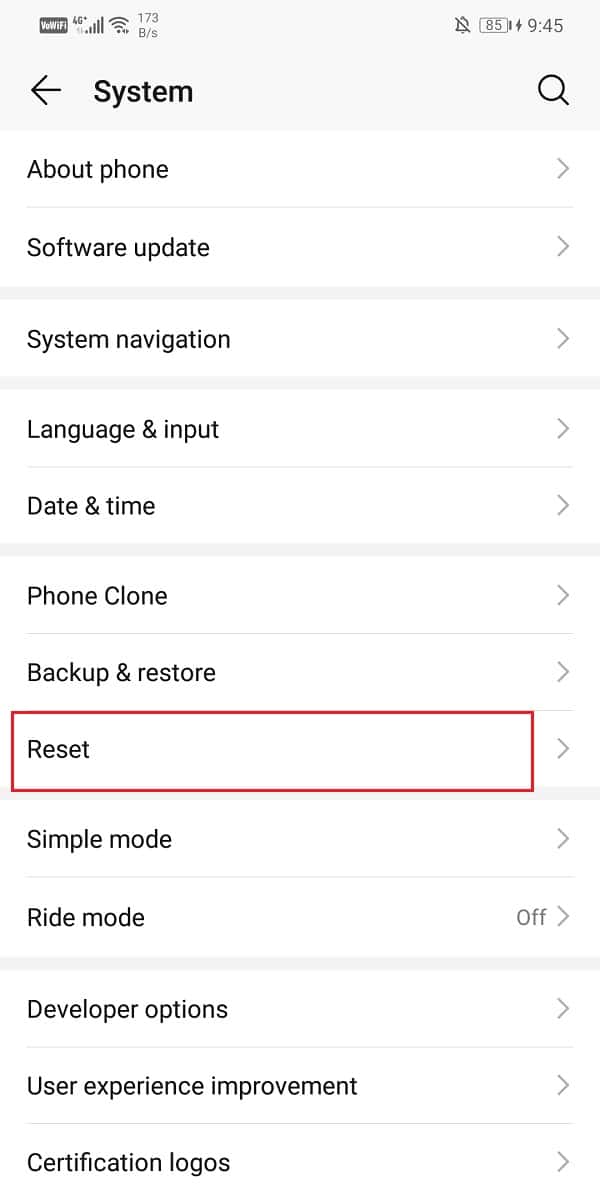
2. Now, if you haven’t already backed up your data, click on the Backup your data option to save your data on Google Drive. 3. After that, click on the Reset tab.
4. Now, click on the Reset Phone option.
This will take some time. Once the device is ready to use, download, and install Instagram again. Complete the entire login and registration process and grant all the necessary permissions that it asks for. After this, you should be able to able to access the camera from Instagram. Recommended:
4 Ways to Rotate an Image in Google Docs 10 Best Office Apps for Android Fix Instagram Notifications Not Working
As mentioned earlier, sometimes the problem is with Instagram itself. If you’re still unable to access the camera in the Instagram app after trying all the solutions mentioned above, then there is nothing that you can do apart from waiting. At times, Instagram’s servers are down, and that causes the app to malfunction. You have to be a little patient and hope that Instagram fixes the issue as soon as possible.


