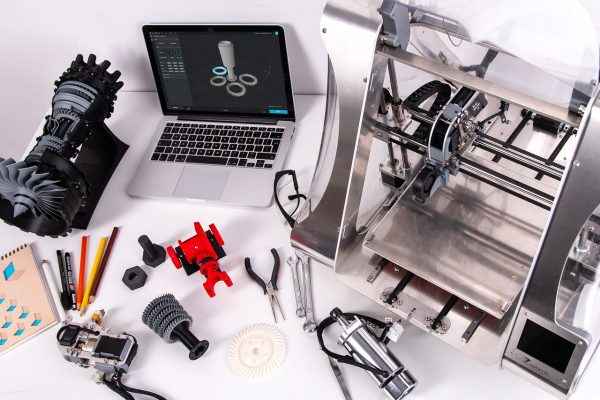
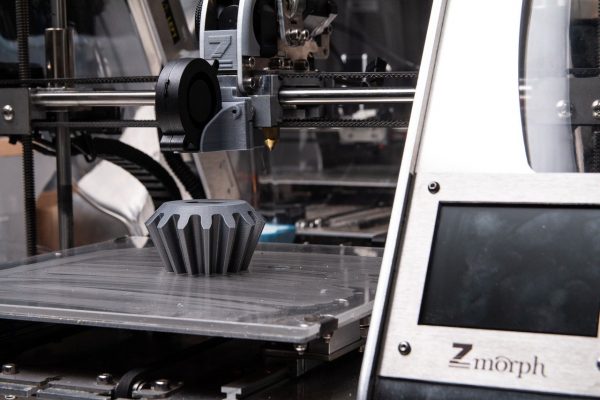
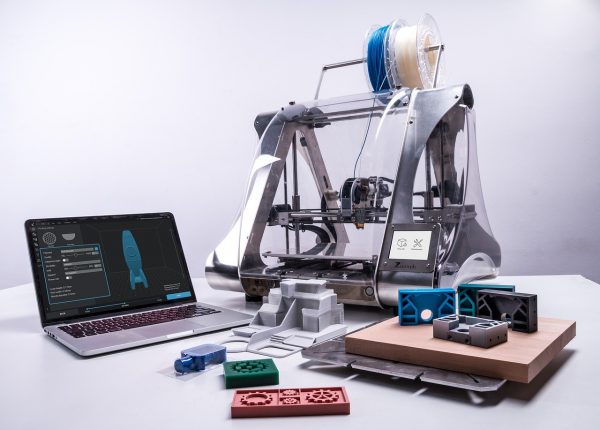
3D printing allows you to create composite shapes with the use of less material than a standard manufacturing method.
3D printing revolution
This is the next wave of the industrial revolution. The manufacturing advancement currently made possible through 3D printing is altering the financial aspect of product manufacturing and generating fresh markets through the production parts that don’t need assembly. The 3D printing revolution’s usefulness can be seen both in the manufacture of medical and consumer products. It’s utilized in the production of things like hearing aids, dental implants and car parts using a different types of materials. A dramatic transformation is occurring in the medical industry as a result of the effects 3D Printing in dentistry where it is utilized for the manufacture of crowns, bridges, dentures, and implants. It is also making a great impact on the manufacturing of brace and customized orthotics like partial and total knee replacements. 3D printing is also transforming the consumer goods industry and changing the operation of things in the distribution and supply chain industry.
How to Build a 3D Printer
The best way to study 3D printing is to build your own 3D printer from the scratch. This will help you to learn about the components starting from the electrical, electronics and the motion control part and how each of these functions together. You will equally find troubleshooting a lot easier when you have a better understanding of the machine by building one from the scratch. How much you will spend to make a 3D printer depends on whether you want to build one from the scratch or if you want to assemble a 3D printer using a DIY 3D printer kit. A 3D printer kit commonly comes with everything you require to build a printer starting from spare parts, assembly manuals and a few tools you need. In this guide, we will explain how you can build a 3D printer from the scratch. It’s a lot more work to DIY your 3D printer from the scratch than when you assemble one from pre-made kits. While you have to follow the user’s guide provided in the premade kit, you will have to figure it all on your own when building a 3D printer from the scratch. Besides, you need adequate technical know-how and must know about machines and electronics in general. What we’re providing here is what you need to DIY an FFF/FDM 3D printer which is the most widespread form of the consumer-level 3D printer on the market.
1. Choose the Motion Structure and Frame
The first thing you need to do is to choose the motion structure. You need a 3D printer plan and when you’ve got one, decide on the best mechanical arrangement and frame material to use before deciding on the rest components of your 3D printer. One can find multiple types of FFF/FDM 3D printers in the market but the type most commonly used and recommended for people starting out to DIY machine is the Cartesian 3D printer. You can get a Cartesian 3D printer with the following variables: · Cartesian XY · A-delta 3D printer The components you will need for your projects depends on which of the three arrangements you want to build. The Cartesian XZ Head which comes with the non-convoluted arrangement is recommended for the first time builders.
2. Choose the Frame Material
The frame is the component that holds the rest components together. It is made up of a few bolts, nuts, rods, and bearings. The material you use for your mainframe depends on your available tools and the amount you are willing to spend on the project. Acrylic frame is not pricey and you can easily manipulate it. However, it can easily crack and wobble because it is made with the very light material. You can equally easily manipulate a wooden frame but it isn’t great for high-temperature and high-speed functionality. The aluminum and steel frame is one of the best in the market. They are by far more durable and can perform well under a high-temperature environment. Although you will spend more to get them, they provide you more long term value compared to their twin brothers.
3. Choose the Parts
In this step, you will choose all the parts you require for your 3D printer. This will include the electronics, extruder and the print bed. Ensure you get quality materials so they can last for a long time. The parts you need include:
Controller Board
The controller board, the motherboard or mainboard is the brain of your 3D printer. It directs the motion of the moving parts and utilizes the sensors to processes input. You will find different types of motherboards in the market but the key ones and the trendiest ones are the SmoothieBoard, RAMBo, and RAMPS motherboards. They last long and have a double extruder setup. If you prefer a type with an inbuilt Wi-Fi connection, you can go for Duet Wi-Fi.
Power Supply Unit (PSU)
You need a power source for your 3D printer to run. While choosing your PSU, consider the features of the product which includes the form factor, input/output, current and if it comes with a real switch. If you intend to print with high-temperature materials buy a PSU that that can tolerate the high heat.
Print Bed
The print bed is the stage of the display area for creating the 3D model. The motion of the print bed depends on the mechanical organization of the 3D printer. For a Cartesian XZ Head arrangement, the motion is through the Y-axis whereas, in a Cartesian XY Head arrangement, the movement is through the Z-axis. A delta arrangement comes with a stationary print bed located at the bottom of the unit. We suggest you go for a heated print bed which would benefit you in the future due to its capacity to print with sophisticated materials.
Print Head
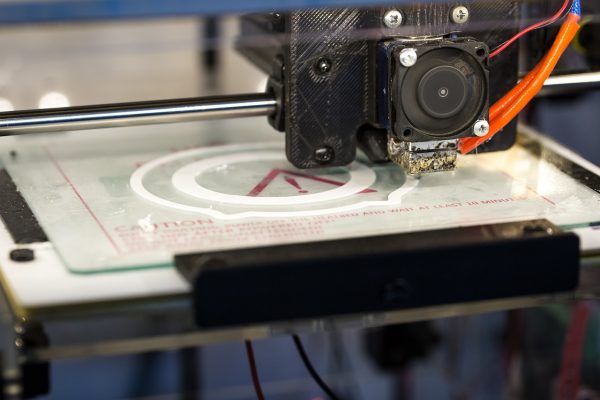
The print head or the extruder is the heart of the 3D printer. It melts the filament and deposits it on top of the print bed. The print head is made up of two parts: the cold end and the hot end. Each of them has a peculiar role. While the cold end drags and clamps the filament pushing it towards the hot end, the hotend melts the filament that gets deposited on top of the print bed through a tiny opening at the tip known as the nozzle. You need to equally determine which filament feeding system you need. You can either use Bowden arrangement and a direct drive arrangement. Each of them has its advantages and disadvantages. However, you can change the arrangement later if the one you choose is not suitable.
Fans
The print head of your 3D printer needs to come with a pair of fans on the print head. The first fan act as a heat sink fan and the other fan serves as a nozzle cooling fan. The heat sink fan prevents the cold end filament from melting before it gets to the nozzle whereas, the second fan cools the filament immediately after deposition on the print bed. A few users equally integrate a controller board fan. If your heated print bed already has the MOSFET, you don’t require a fan for your motherboard.
Stepper Motors
The mechanical motion of the 3D printer depends on chains of stepper motors. As opposed to a standard DC motor, a stepper motor’ motion occurs incrementally or step after step. This makes it a better choice for accurate motions. Connect the stepper motors to the three axes, that drive the belts and the rods with threads or leadscrews. The extruder equally features a stepper motor that drives the filament motion in the cold end. In a delta arrangement, the stepper motor doesn’t drive the print bed as it does in the Cartesian 3D printer.
Threaded Rods / Leadscrews
For a Cartesian 3D printer, connect your threaded rods on the stepper motor. This or your leadscrews propels the motion through Z-axis. Although you can utilize them on the X-axis or the Y-axis to create a smoother and more accurate motion, they slow down the speed and come with more costs. Using threaded rods or leadscrews on the Z-axis result in improved stability of the printer.
Belts
Get a GT2 belt. It is the most recommended type for 3D printers. Belts commonly propel the motion on both X and Y axes and regulate the printer’s noise level and the 3D printer’s accuracy. When you’re ready to print with your 3D printer, build tensioners immediately to keep the belt very tight and allow for easy adjustment of the belt tension.
End Stops
Fix the End stops which helps to inhibit the 3D printer from making a motion higher than its range and which would serve as a reference point for the controller board. The most widespread type is the mechanical end stops. They are less pricey and have a more straightforward arrangement when compared to the optical end stops.
Spool Holder
Get a universal spool holder so you are sure it can fit into any type of spool. You can utilize a makeshift spool holder at first to minimize cost and when you have your printer up and running, you can print one for yourself. The position you will place the spool holder on the frame would vary depending on the mechanical setup and whether you’re using the Bowden feeder system arrangement or a direct drive system arrangement.
User Interface / Connectivity
There are 3D printers that must be connected to the computer to print while others can print untethered, for more convenience. So, consider, building a 3D printer that you can link up to through USB and the one that comes with an onboard interface and SD card connectivity to make standalone printing possible. So, get a standard LCD onboard interface that you can either operate with by either a dial, a knob or a collection of buttons. Once you’ve put all these components parts together, your 3D printer is good to go. Although, it isn’t an easy task to build your own 3d printer especially because you will not have a manual to guide if you follow these steps you will find it easier. Remember to take it bit by bit and follow each step on your 3d printer plans carefully.


