The main issue is the unexpected system restart because most of your time will go into updating and restarting your Windows 10, and this issue becomes frustrating when this happens in the middle of your work. So without wasting any time, let’s see How to Stop Windows 10 Update Completely with the help of the below-listed tutorial.
Stop Windows 10 Update Completely [GUIDE]
Note: Make sure to create a restore point just in case something goes wrong.
Stop Windows 10 Update Completely [GUIDE] Step 1: Disable Windows Update Service Step 2: Block Automatic Windows Update using Group Policy Editor Alternative: Block Automatic Windows Update using Registry Step 3: Set your Network Connection to Metered Step 4: Change Device Installation Settings Step 5: Disable Windows 10 Update Assistant Optional Step: Use 3rd party tools to Stop Windows 10 Updates
Step 1: Disable Windows Update Service
Press Windows Key + R then type services.msc and hit Enter.
Find Windows Update in the services list, then right-click on it and select Properties.
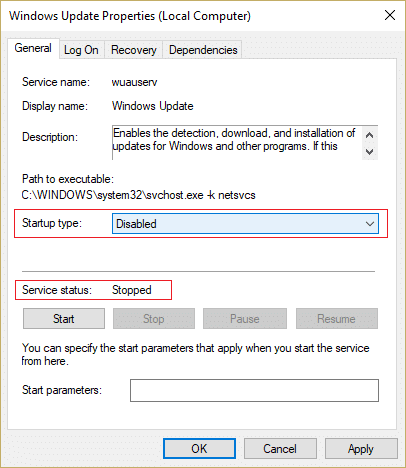
If the service is already running, click on Stop then from the Startup type drop-down select Disabled.
Click Apply, followed by OK.
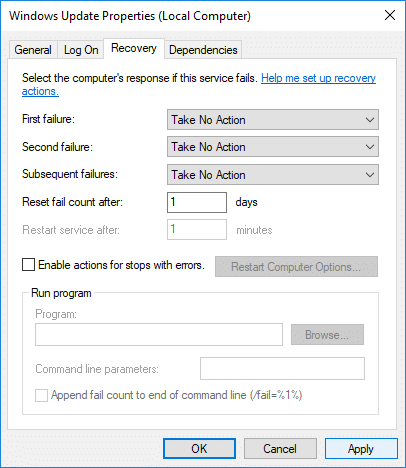
Now make sure you don’t close the Windows update service Properties window, switch to Recovery tab.
From the “First failure” drop-down select “Take No Action” then click Apply followed by OK.
Reboot your PC to save changes.
Step 2: Block Automatic Windows Update using Group Policy Editor
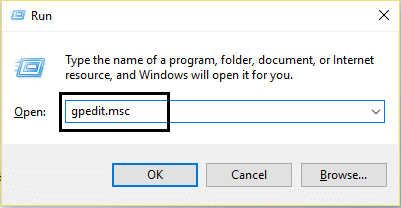
Press Windows Key + R then type gpedit.msc and hit Enter to open Local Group Policy Editor.
Browse to the following location: Computer Configuration > Administrative Templates > Windows Components > Windows Update
Make sure to select Windows Update in the right window pane double-click on Configure Automatic Updates policy.
Checkmark “Disabled” to disable Automatic Windows updates and then click Apply followed by OK.
Alternative: Block Automatic Windows Update using Registry
Press Windows Key + R then type regedit and hit Enter to open Registry Editor.
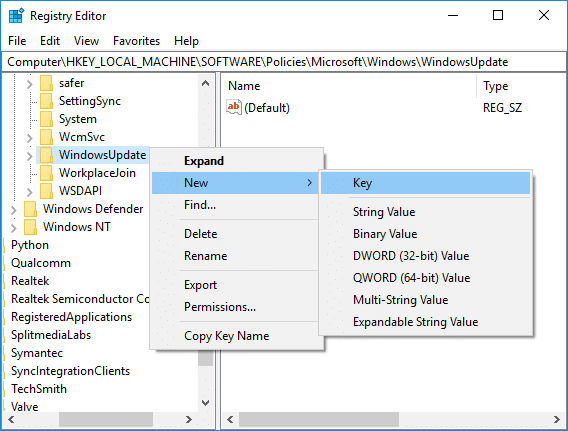
Navigate to the following inside Registry: HKEY_LOCAL_MACHINE\SOFTWARE\Policies\Microsoft\Windows
Right-click on the Windows key then selects New > Key.
Name this newly created key as WindowsUpdate and hit Enter.
Again right-click on WindowsUpdate then select New > Key.
Name this new key as AU and hit Enter.
Right-click on AU key and select New > DWORD (32-bit) Value.
Name this DWORD as NoAutoUpdate and press Enter.
Double-click on NoAutoUpdate DWORD and change its value to 1 and click OK.
Reboot your PC to save changes.
Step 3: Set your Network Connection to Metered
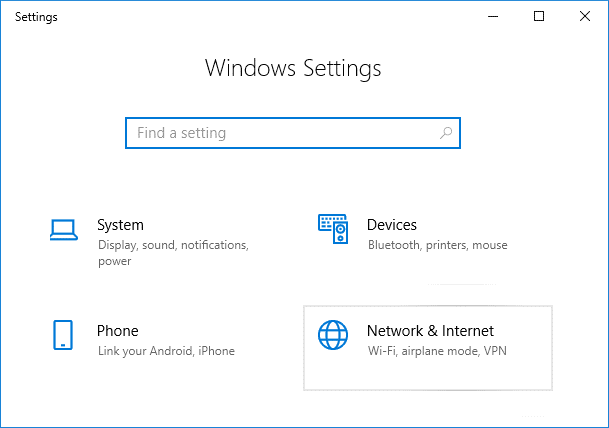
Press Windows Key + I to open Settings then click on Network & Internet icon.
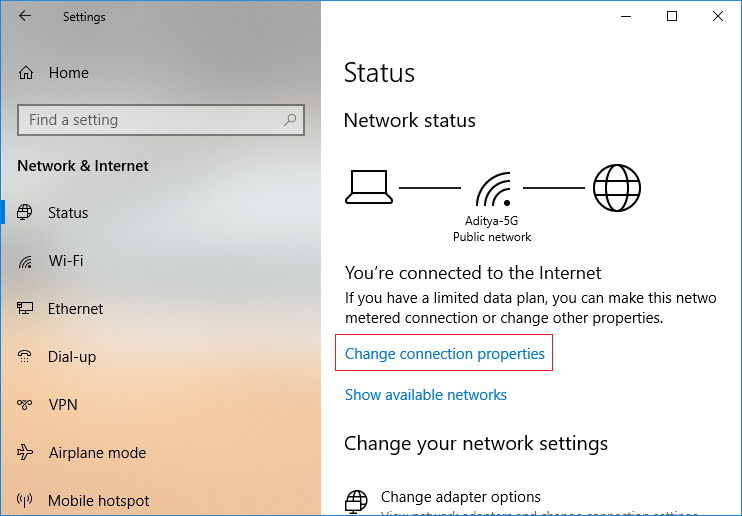
From the left-hand menu, select Status, then click on “Change connection properties” under Network status.
Scroll down to Metered connection then enable the toggle under “Set as metered connection“.
Close Settings when finished.
Step 4: Change Device Installation Settings
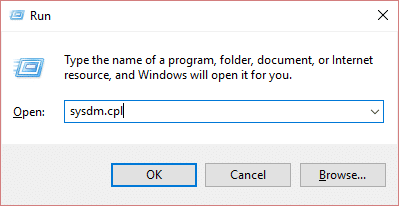
Press Windows Key + R then type sysdm.cpl and hit Enter to open System Properties.
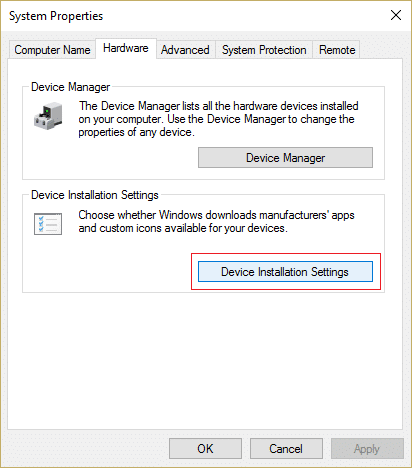
Switch to Hardware tab then click on “Device Installation Settings” button.
Select “No (your device might not work as expected)“.
Click on Save changes then click OK to close settings.
Step 5: Disable Windows 10 Update Assistant
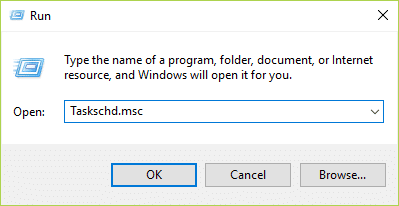
Press Windows Key + R then type taskschd.msc and hit Enter to open Task Scheduler.
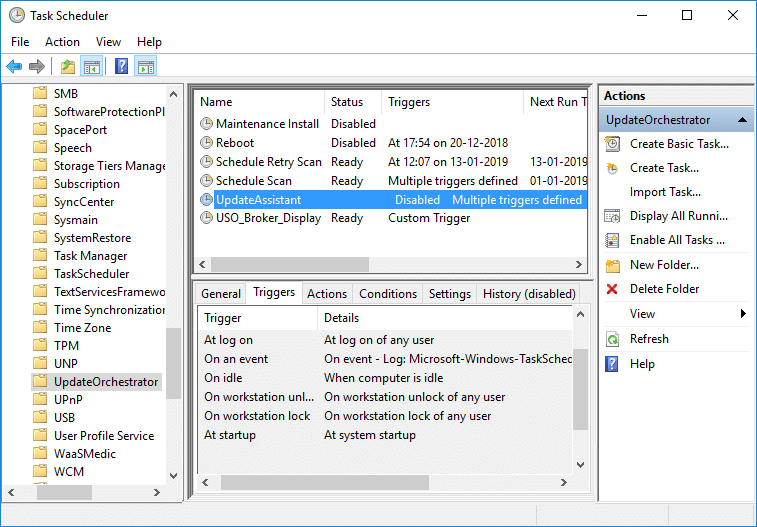
Now navigate to the following settings:
Make sure to select UpdateOrchestrator then in the right window pane double-click on Update Assistant.
Switch to the Triggers tab then disable each trigger.
Click Apply, followed by OK.
Optional Step: Use 3rd party tools to Stop Windows 10 Updates
- Use Windows Update Blocker to stop Windows 10 from updating completely.
- Win Update Stop is a free tool that allows you to disable Windows Updates on Windows 10 Recommended:
Fix Microsoft Compatibility Telemetry High Disk Usage in Windows 10 Windows Update Stuck at 0% [SOLVED] How to Fix NVIDIA Control Panel Missing in Windows 10 Fix Integrated Webcam Not Working on Windows 10
That’s it you have successfully learned How to Stop Windows 10 Update Completely but if you still have any queries regarding this tutorial then feel free to ask them in the comment’s section.